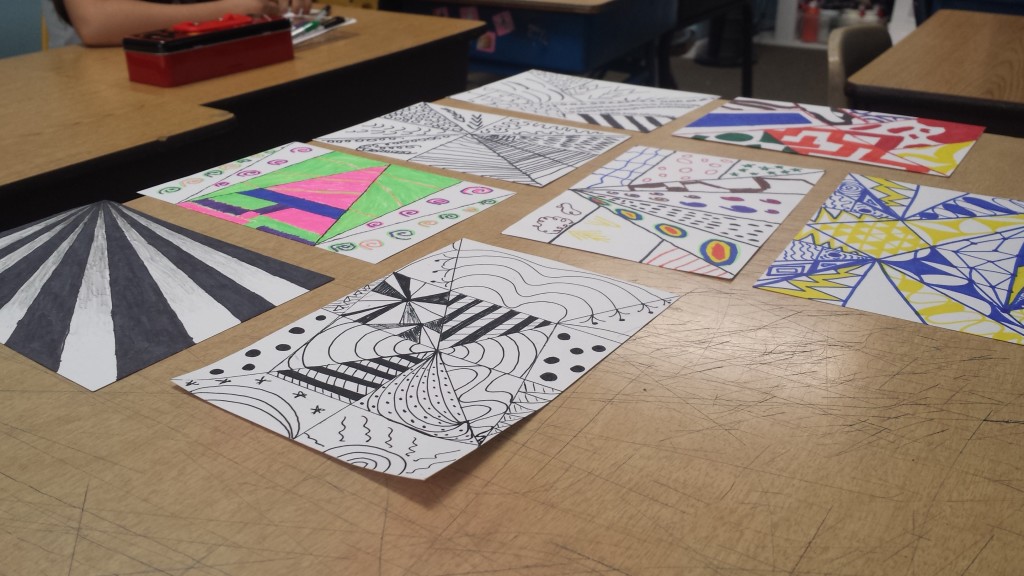
 The Zentangle art form and method was created by Rick Roberts and Maria Thomas. Its an abstract method of drawing with repeated patterns within a pattern. For example, you can start with a myriad of lines on a page, fill up each block with a different pattern, and you have successfully ‘tangled.’ The great thing about this method of art is that its very meditative and develops focus and creativity. As tangledpatterns.com highlights: “The Zentangle Method “increases focus and creativity, provides artistic satisfaction along with an increased sense of personal well being. The Zentangle Method is enjoyed all over this world across a wide range of skills, interests and ages.” As CZT Margaret Bremner has written, “One of the lovely things about Zentangle is that it isn’t supposed to BE anything. Even more, it’s SUPPOSED to NOT be a something. … Zentangle is simply beautiful patterns playing harmoniously together. Zentangle-inspired art (ZIA) is another story; it can be Something if you want.”(Read more here from tangledpatterns.com… What is a Zentangle?)
I was so excited to give this method a try with my kids and art students at our local homeschool academy! We have been going through lessons on patterns, hatching, shading methods and perseption. Zentangle is a nice segway into colorful design, patterning and shading, and its so much fun. The added bonus to this artform is the only real rule is to just fill each section with a pattern. The kids are not limited to anything else, and can let their imagination and mindfulness roam on the page!
For this project, I purchased cardstock paper and colorful sharpies with different types of tips. Usually a fine tip marker or pen is the chosen method, but you can branch out into different styles of pens.
For the younger students, I drew lines creating triangles and squares on a page for them to start out. You can find a lot of starting page patterns on the web. I printed out sample patterns for them to get ideas, and there are a lot of those available online as well.
The result was a lot of fun and stunning artwork! The classroom was so quiet…it was like they were all in a meditative state! 🙂 This project is to develop focus and mindfulness in the student, and a also gives them an art method that they can take with them and go as far as they desire.

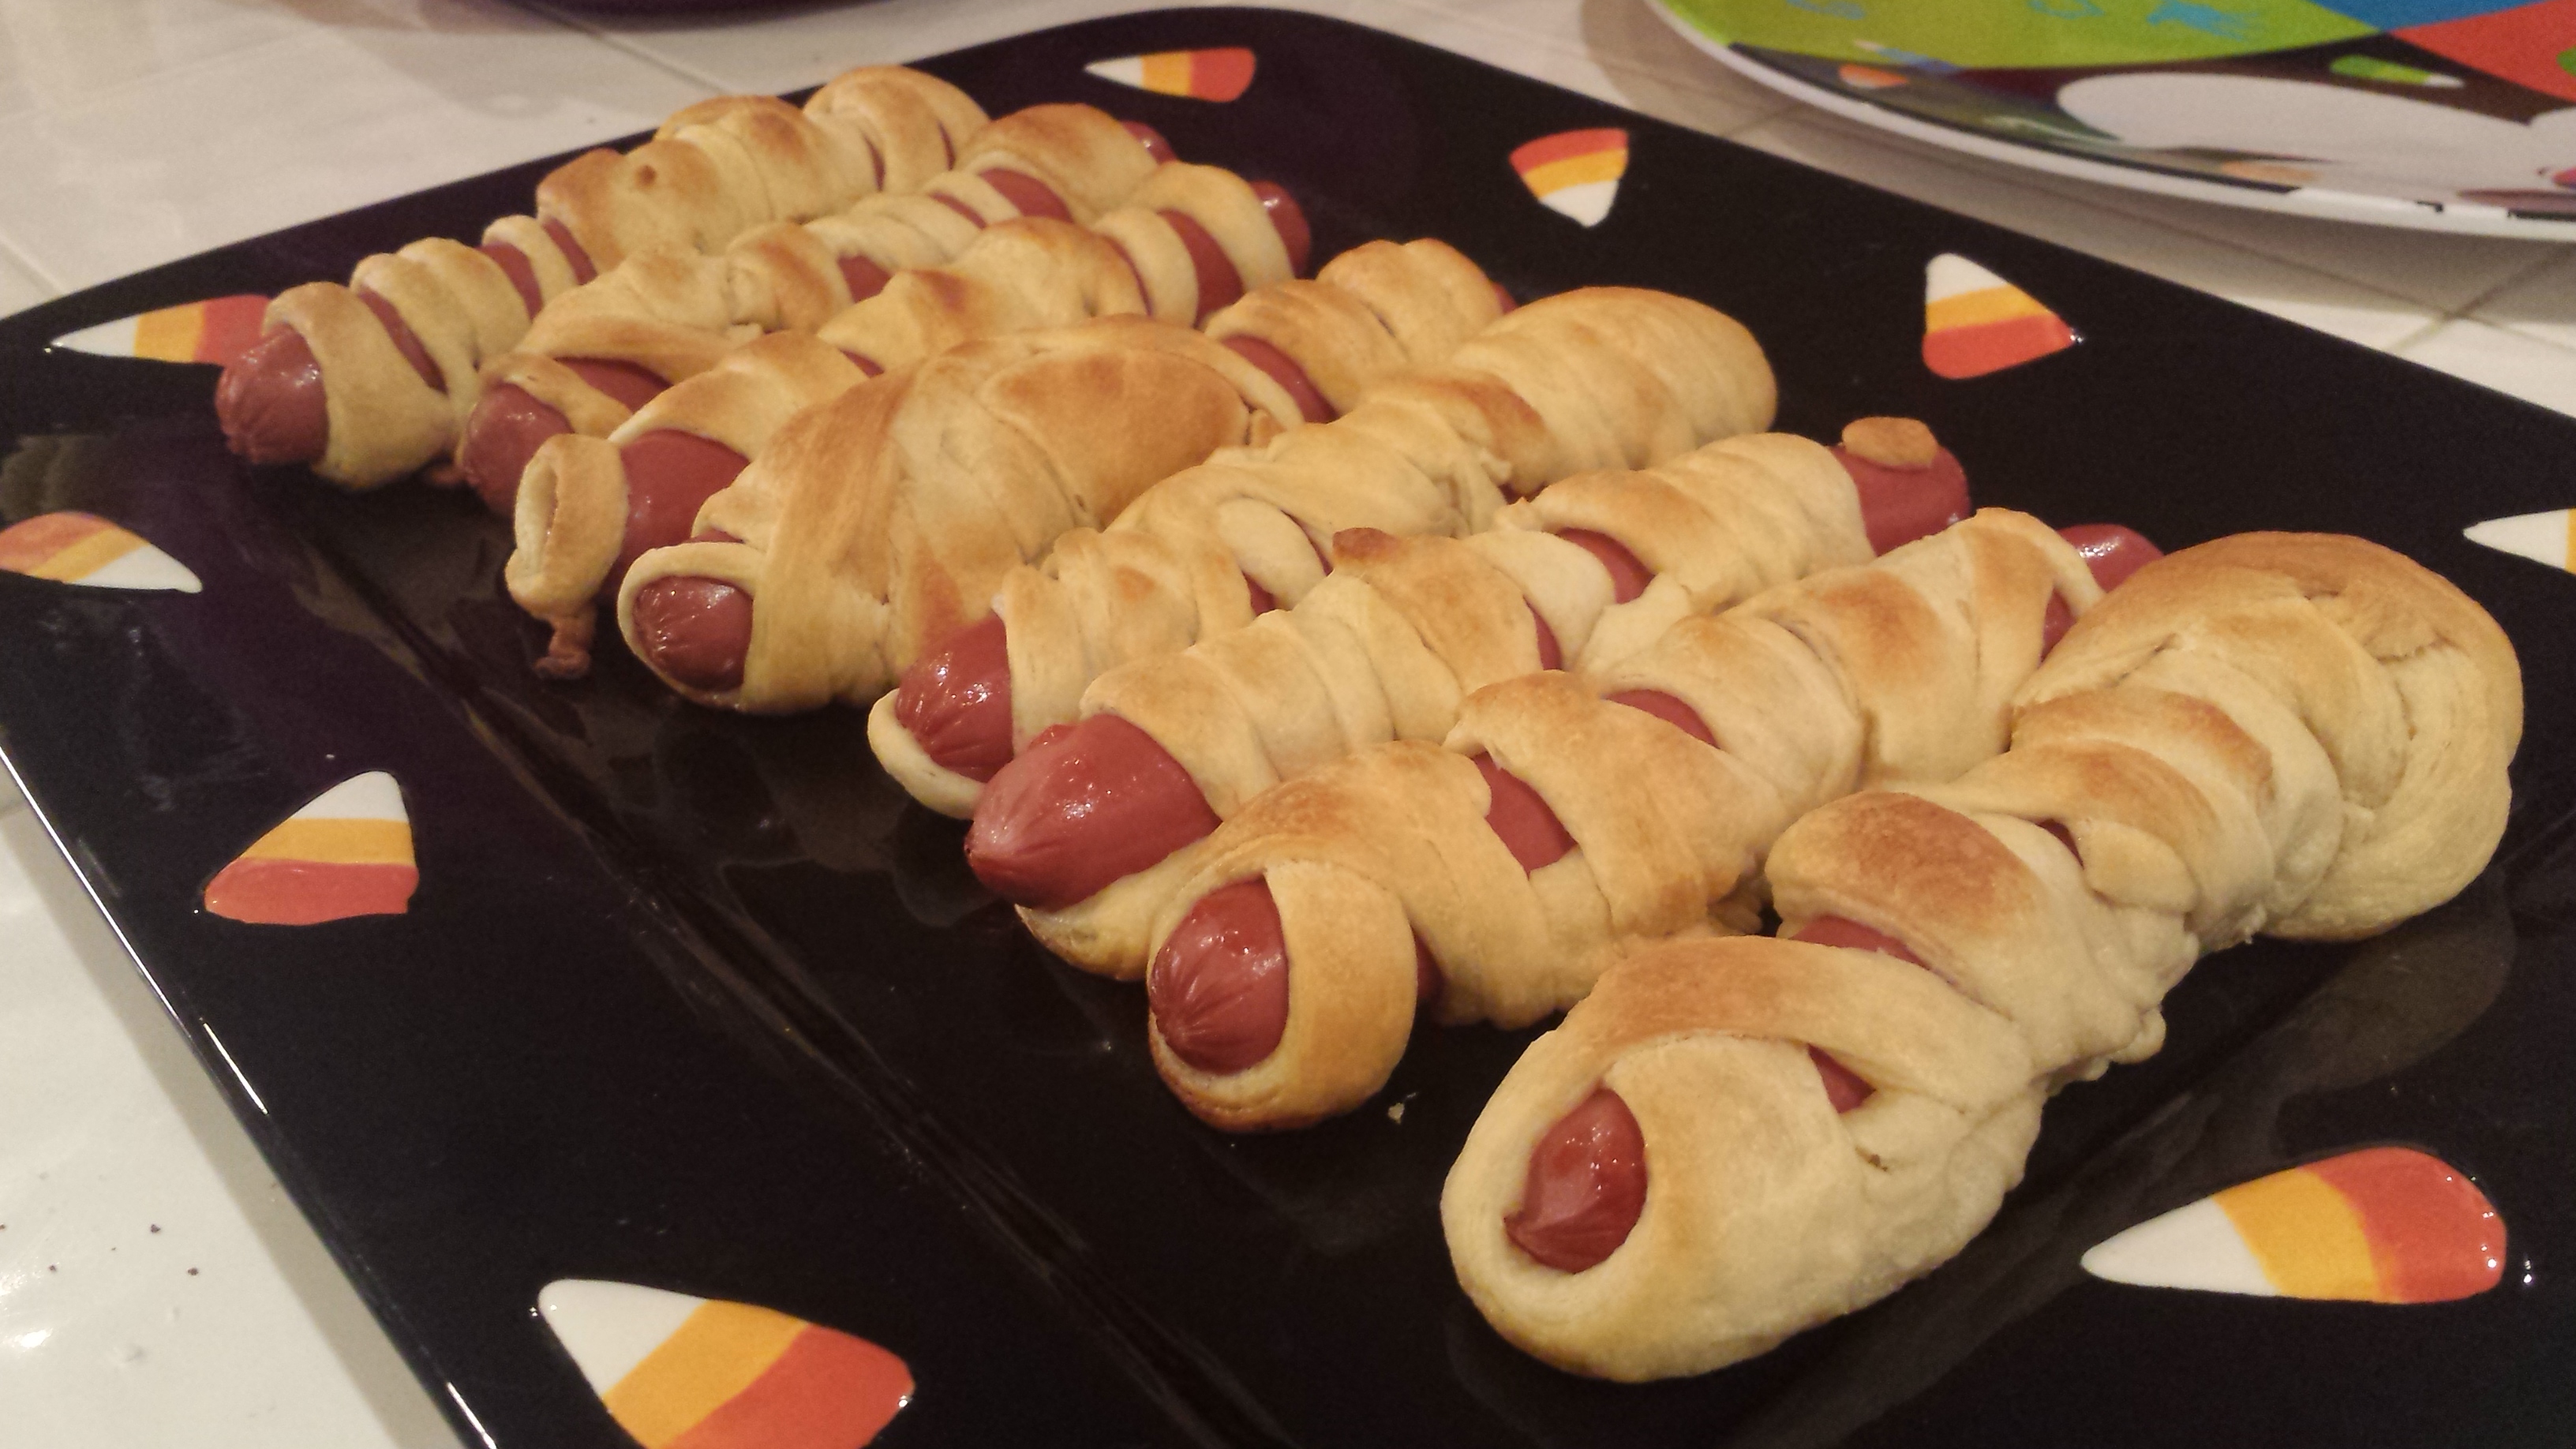
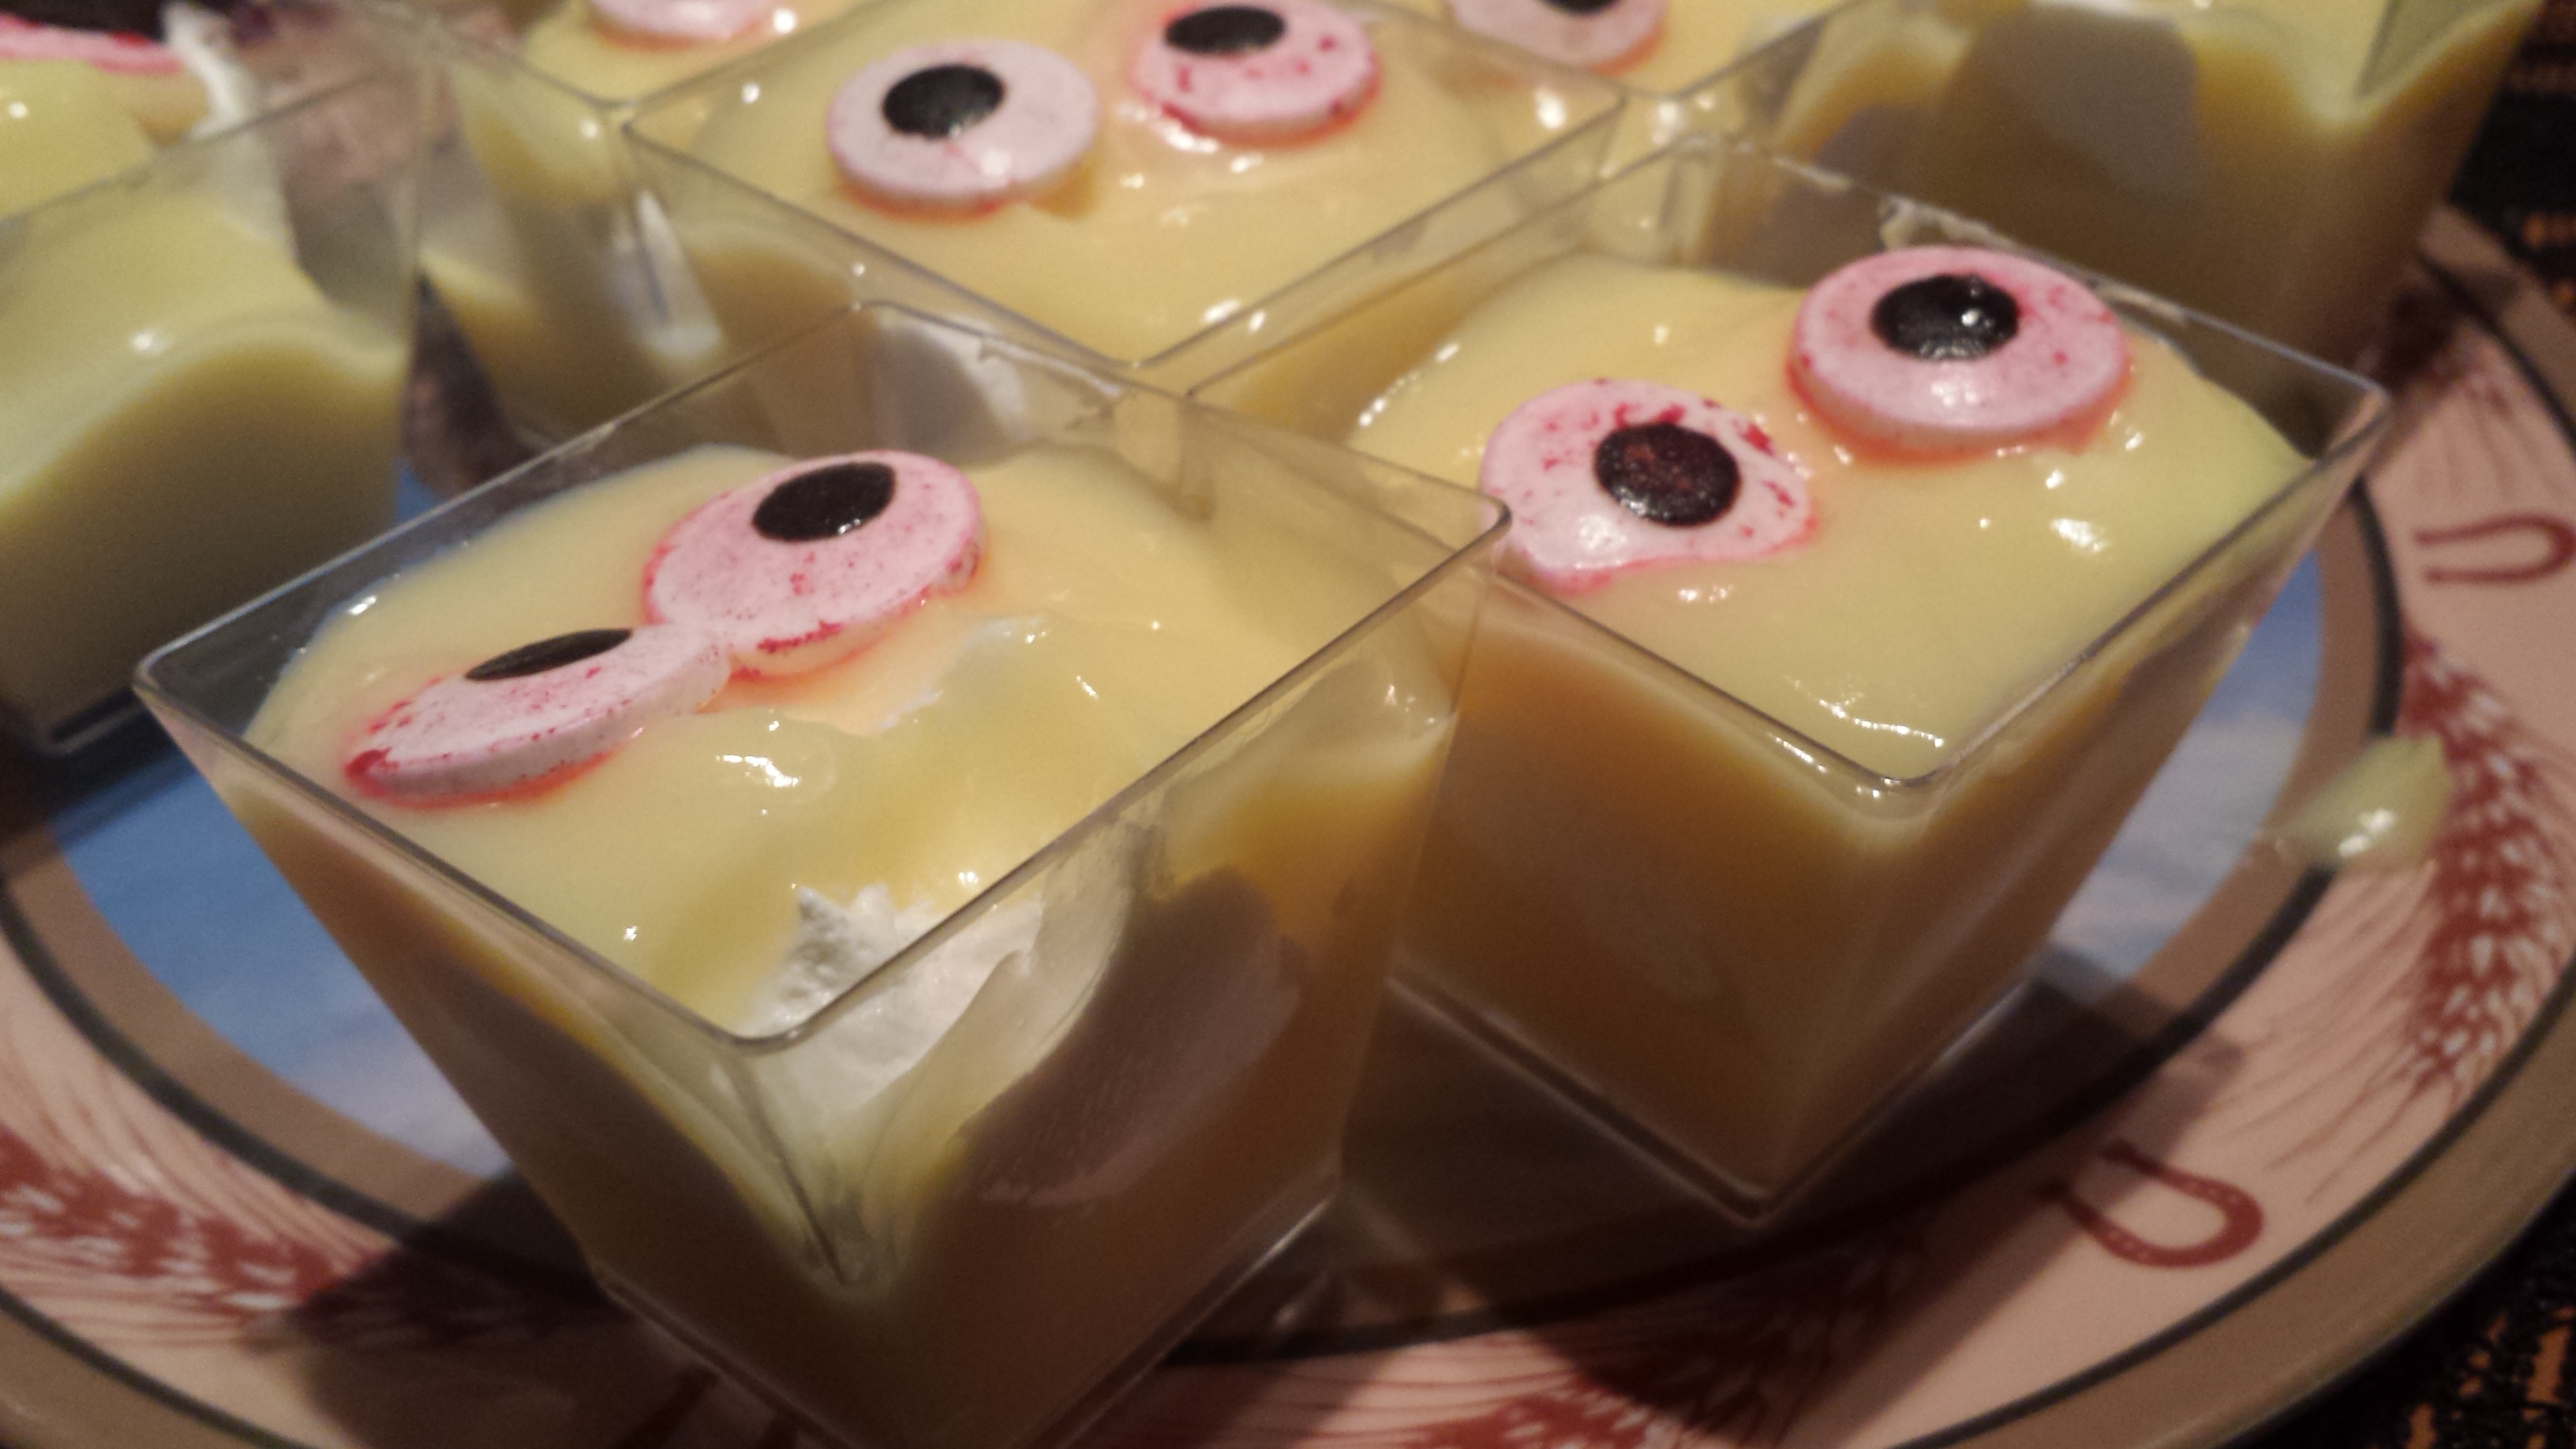
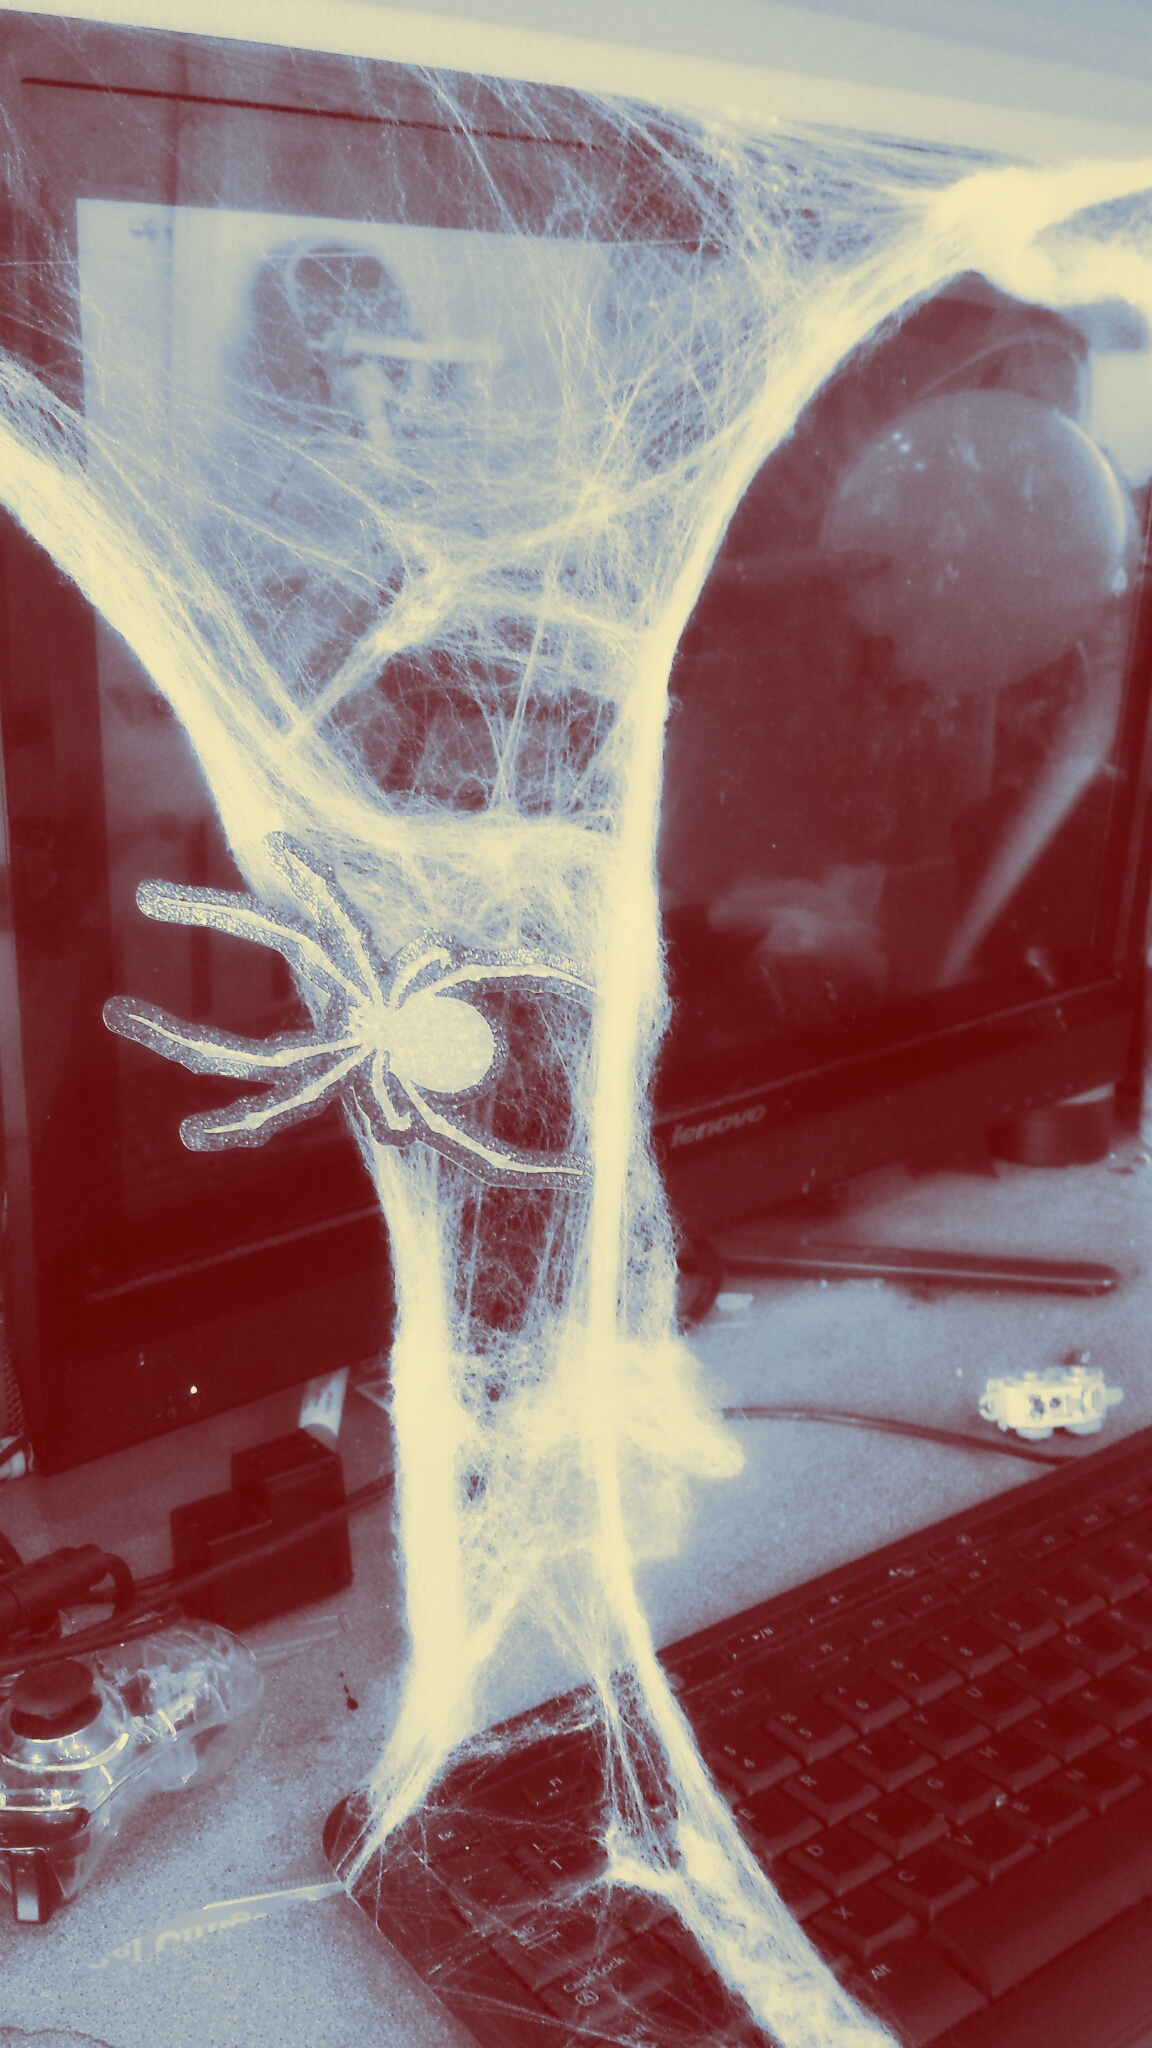
 One of the best holidays for kids, Halloween is the perfect time to get your little monsters’ brains ticking. Masking science with fun makes it even more enjoyable for them. Check out these scary projects: